Monday 26 October 2015

Raspberry (OR Blueberry OR even Cranberry) Sticky Buns

I have been looking for a new sticky bun recipe for awhile, and this one was passed around on facebook in the summer.  I finally had a chance to try it out, and I am hooked (see below for my tried, tested and LOVED sticky bun recipe that I do with my grade 9s). 

I used the dough from my old recipe and used this link for the filling.

http://www.aspicyperspective.com/raspberry-sticky-buns/

I will be making this recipe in December with my grade 9s and will possibly give them the choice of blueberry or raspberry.  I am also thinking that I could freeze some fresh cranberries as the stores will be full of those for Christmas and it would make the sticky buns more festive!  I do think that frozen fruit needs to be used and it has to be smaller, so blackberries and strawberries are out unless I cut them ahead of time and freeze them.

There is not much to say about this recipe except that it is easy to make, as far as sticky buns go, AND it is super, super, super delicious!  One thing I did notice is that I am going to cut down on the amount of lemon zest by about half.  When they were fresh out of the oven, they tasted great!  However, I brought a sample home for my husband.  Hours after they were made, they still tasted great, but the lemon was VERY overwhelming (which was not noticed from the fresh ones).  At any rate, I am sure these will create a LOT more excitement in my school in December.  As if December isn't crazy enough - ha!  If you can't beat them, might as well join them! 


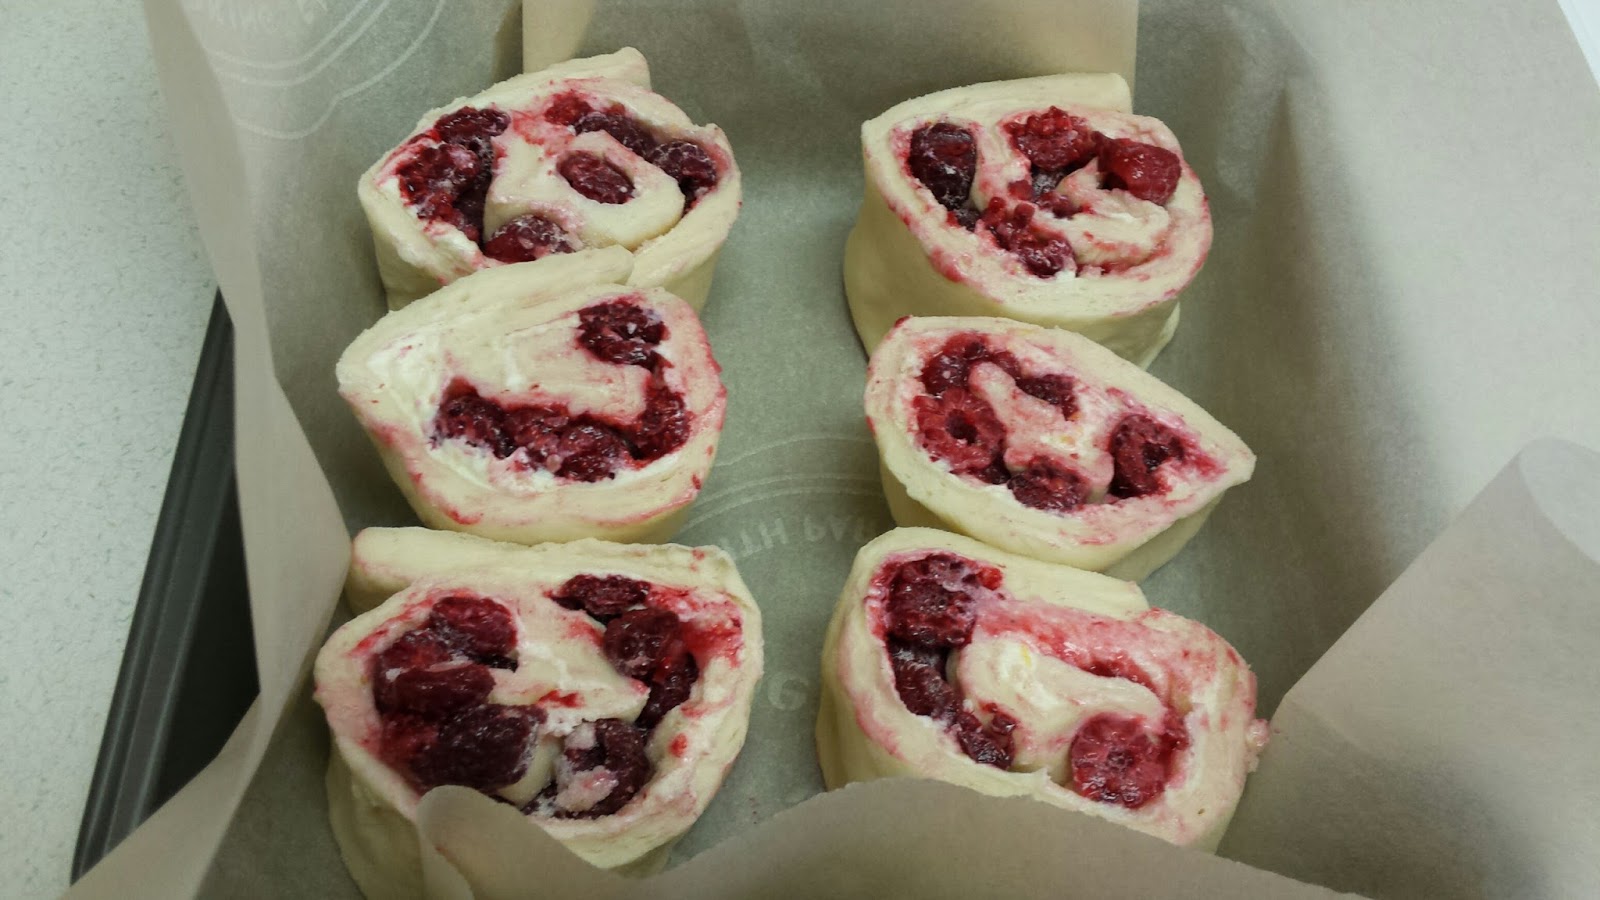
Raspberry Sticky Buns


Blueberry Sticky Bun


Sticky Buns

Ingredients:


Dough:                                  Spread:

625-800 mL      flour                         125 mL     brown sugar

60 mL               sugar                                60 mL       margarine

5 mL                 salt                           5 mL         cinnamon

10 mL               yeast                        Topping:

60 mL               margarine                  30 mL       margarine

250 mL             hot tap water            60 mL       brown sugar

1                       egg                           30 mL       corn syrup


Procedure:


Day 1:

1)           In a large bowl, combine 250 mL of flour, sugar, salt and yeast.

2)          Combine the margarine and hot water. Stir to melt the margarine.

3)          Add the water and margarine to the flour mixture. Stir very well for 2 minutes.

4)          Add 60 mL more flour and beat very well again.

5)          Add the egg and beat very well.

6)          With a wooden spoon, stir in enough of the flour to make a soft, non-sticky dough.

7)        Knead for 10 minutes, until smooth and elastic.


Day 2:         


Preheat oven to 375

1)           Knead dough for 1-2 minutes. Roll out into a square that is 10” x 10”.

2)          Spread with the 60 mL margarine and sprinkle with brown sugar and cinnamon.

3)          Roll up and cut into 12 pieces.


Topping:


1)           Combine topping ingredients in a small saucepan. Heat until margarine is melted and ingredients are mixed. Pour into a rectangular cake pan.

2)          Place buns, cut side down into the pan.

3)          Let sit for 20 minutes on stove top, but not on vented burner.

4)          Bake for 25-30 minutes. If turning brown too quick, cover with aluminum foil.

5)          Let cool for 5 minutes, turn upside-down onto a jelly roll pan and eat.


Curly Oven Fries with Seasoned Salt

Curly oven fries...cool!  I have a spiralizer - even better!  This recipe turned out differently than I expected.  I tried a few different things, but they always ended up more like hashbrowns.  I wonder what would happen if I never blanched the potatoes and just baked them?  I found that 475 F ended up with a better result than the recommended 425 F.  I am not giving up as this recipe is a KEEPER!  I have tried using the seasoned salt recipe on the oven fries I make in my grade 8 program, and it is a success!  So...where to next with this recipe?  Well...my husband loved them, so I can see this being a regular side dish at home for both breakfast and dinner.  I do think I will try this at school but not as fries.  I am thinking in grade 8 as hashbrowns in a group of four as then they can all make a part of a traditional North American bacon, eggs, hashbrowns breakfast - maybe toast or sliced fruit as the fourth job (plus one pan in the oven with this recipe turns out way better than two and yes - I have spiralizers in my Foods classroom as well).  I am reflecting if it should be grade 9, but we do a similar recipe with the Sweet Potato Eggs Benny - see blog from earlier this year.  Wherever I place this recipe, I know the kids will love it!  I hope you do, too!


http://www.vegetariantimes.com/recipe/curly-oven-french-fries-with-seasoned-salt/

Sunday 25 October 2015

Poached Pears in Honey, Ginger, and Cinnamon Syrup


I have never poached pears before, and I learned a few things along the way.  I think my only issue was that my pears could have used an extra day or so to ripen.  I have new respect for poached pears as you will need to poach them at the exact perfect ripeness for them to not be too firm nor too mushy.  Mine were a bit firm, so it was a small struggle to eat them.

This recipe has an amazing balance of flavours.  My house smelled like mulled wine, and I could have drank the poaching liquid if it wasn't so sweet....sweet wine, honey, simple syrup - yikes!  These did balance nicely with the ginger and cinnamon.  Another first was that was the first time I worked with vanilla beans - messy but worth it!   This was a good match for the vanilla bean ice cream - yum - a must for the recipe!

After a huge dinner, my guests just wanted half a pear.  I was worried about the presentation, but they ended up looking pretty both cut in half and whole.   I think due to the firmness of the pears...half was a good choice as it was easier to break up with the spoon.  I now have some extra poached pears, so I am going to try and use them up in perhaps a pear crisp or some type of pear baking.  I could see myself making these again for a fall dinner party.  I hope you find the right ripeness of pears to have success with this recipe.


http://www.foodnetwork.com/recipes/giada-de-laurentiis/poached-pears-in-honey-ginger-and-cinnamon-syrup-recipe.html


Cookie Dough Hummus


I was rather sad about this recipe.  I thought it would be a hit.  I offered it to many different groups, but very few wanted to try it.  I am wondering if it needs another name.  I thought it was okay, but it wouldn't be something I would make again.  Again...life got busy so no photos....


http://www.alive.com/recipe/cookie-dough-hummus/

Tuesday 6 October 2015

Roasted Pork Tenderloin with Rosemary Roasted Grapes

I finally got to make this recipe!  When I started this blog, I was saving this recipe for the fall.  I have saved this for so long that I have forgotten where I found it...yikes!
 
Basically, you toss equal amount of red and green grapes and a WHOLE sliced red onion (I used half an onion and now regret it...) with olive oil, red wine vinegar, rosemary, salt pepper, and grape jelly or wine jelly.  This is the mixture in the first photo.  Then you coat a pork tenderloin in a mixture of grape jelly and grainy mustard.   Place this on top of the grape mixture.  Bake at 375 until the pork reaches 155 F.
 
The result - delicious!  Move over applesauce, I have found a new topping for pork....roasted grapes!  I was surprised that I resisted the urge to add garlic, my favorite spice, but the onion worked out just fine.  As mentioned, I only used half as I thought it was going to be too much and I wish I had used a whole one.  Everything was well balanced...including the sweet flavours of the roasted onion and grapes with the roasted pork and rosemary as well as the textures of the softer fruit and onion against the coarser meat...divine!
 
I served this with a Greek Salad as I was trying to use up some veggies, but I wouldn't do that again.  This dish needs a warm side dish.  I am not a huge mashed potato fan, but I felt that would be a nice compliment or some sort of pureed vegetable....squash, cauliflower?  I can see this making its way into our kitchen again.  I made this on a Monday night after work, so it can be done or it can get fancied up with better sides for a more elegant meal on a weekend.  It might even be on our Thanksgiving table one year as the debate is still on in our home....turkey or ham? Wishing you and yours a Happy Thanksgiving!


Grape Mixture
 
 
Roasted Pork Tenderloin with Rosemary Roasted Grapes
 

Dinner!

French Toast with Poached Plums

This is a new recipe that I tried with all four of my Foods 9 classes this fall.  It was DELICIOUS!  Most of the students liked it and said that they would try it again.  If you are looking for an easy breakfast solution or a recipe to use up some of those plums, give this one a go!  It was so busy in the room that I forgot to take photos.....I am working on that!


                    French Toast
                 Poached Plums
1 large egg
80 ml milk
15 ml honey
pinch of salt
2 slices of day old bread (thicker sliced bread works best)
5 ml margarine or butter
 
2 plums, cut in half with pits removed
15 mL sugar
25 mL water
1. PREHEAT OVEN TO 375 F
2. In a custard cup, microwave the honey for 15 seconds.
3.  In a bowl, whisk egg, milk, salt, and melted honey.
4.  Dip bread into egg mixture, soaking for at least 30 seconds on each side.
5.  Over medium-low heat, melt margarine in nonstick frying pan.
6.  When the bread has absorbed all of the egg mixture, place both pieces of bread in the pan.
7.  Cook until browned, approximately 2-3 minutes per side.
8.  Remove toasts from frying pan, place on a baking sheet and bake for 5 minutes in the oven.
9.  Remove from oven and serve immediately with poached plums.
 
1.     Place all three ingredients into a SMALL pot.
2.     Cover the pot with a lid.  Cook the plums on low to medium heat for 15 minutes, stirring once or twice.
3.     Plums should be soft and surrounded by lots of pink syrup when done.  Cooking time will vary, depending on how ripe the plums are.
4.     Set aside to cool.
5.     Serve with French Toast (watch the timing so both items are ready at the same time!)